Blog Home > Tips and Tricks, Woodworking 101, Woodworking Projects
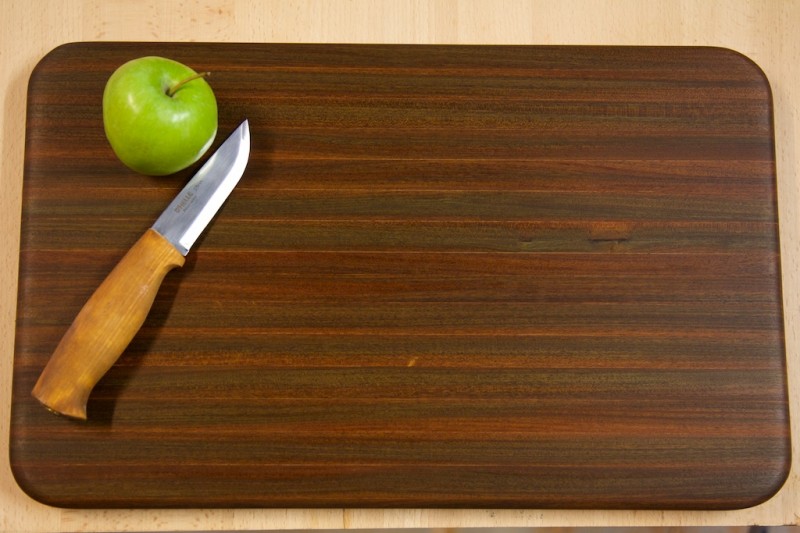
Sometimes, an idea for a project just jumps out at you when you see a piece of wood. That’s what happened when we brought in a small load of dimensioned ipe (ee-pay) lumber that was cut into uniform sizes of 3/4″ x 5.5″ x 72″. I made a small bet with myself that I could make a reasonably size cutting board out of one piece of ipe. So I grabbed a piece, gave it a shot, and succeeded.
Ipe is a handsomely dark wood, especially when it’s sanded and oiled. Because the wood is so dense, hard, and resistant to weathering, the primary use of ipe is in outdoor decking. That’s also what makes it such a fine furniture wood – and it’ll make a good looking chopping block, too. When it’s sanded and oiled, the color turns to a bold brown-saturated color with hints of red and green. And the color stays dark for a long, long time. If you like dark woods, you should explore ipe.
Using our 3/4″x 5.5″ x 6′ dimensioned ipe boards, here’s how you could make a cutting board:
Step 1
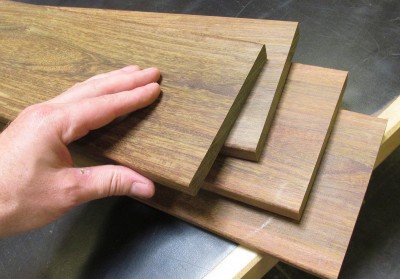
Starting with a piece of 3/4″ x 5.5″ x 6′ ipe, send the 6-foot length through a thickness planer or drum sander, just graze the surface to clean it up.
Cut the board into 3 equal lengths, approximately 18″. Working with these shorter lengths is a little easier to control in the next step. |
 |
Step 2
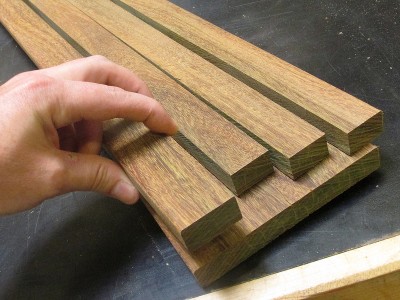
Rip each of the three pieces into strips 1-1/8″ wide. You’ll get four pieces from each length of ipe.
Table Saw Tip: Be aware that ipe is very hard, but with a decent carbide-tooth table saw blade that’s designed for ripping, ipe cuts smoothly and with very little resistance. A 10″ ripping blade most often has between 24 and 30 teeth, deep gullets, and the carbide teeth will have a flat top grind and be raked at 20 to 22 degrees.
|
 |
Step 3
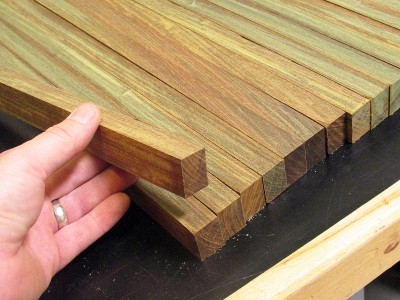
Prepare to glue up the strips into a panel. Rotate the strips onto their edge. This forces the rings of annual growth to run more or less perpendicular to the face and back of the cutting board, resulting in a more stable product.
If the strips were recently planed or sanded, ipe will accept wood glue. Use Titebond III to take advantage of the longer working time the glue offers. |
 |
Step 4
Clamp the strips.
Once the panel is dry, use a planer or a drum sander to flatten the face and the back. This will determine the final thickness, but a precise final thickness is not important. It may finish out to 7/8″ or thicker.
Glue-up Tip: When the glue sets up, but before it’s dry, use a glue scraper to clean off the squeeze-out. For the most part, the glue will peel off in long strips. It’s easier in the long run to clean up the squeezed-out glue before it’s hardened. |
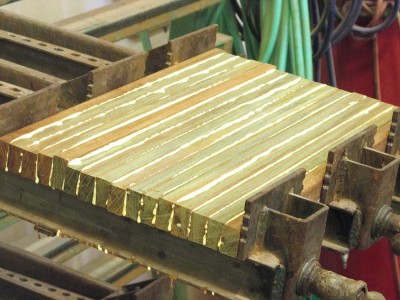 |
Step 5
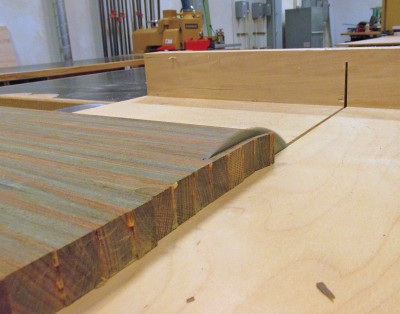
Trim to length. On the table saw or with a track saw, crosscut the ends of the block so they’re square to the edges and so that the board is sized to a length you like. In this case, the cutting board ended up a little over 17″ long. |
 |
Step 6
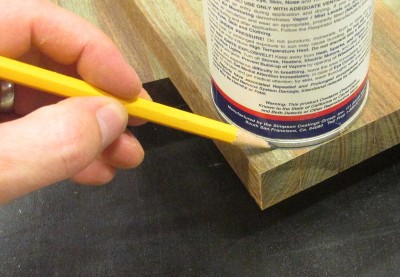
Optional. Soften the corners with a radius. The bottom of an aerosol can makes the perfect radius. Trace it onto the cutting board, then cut it on the bandsaw and sand it smooth on the disc sander. |
 |
Step 7
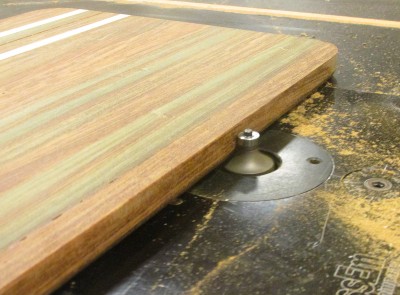
Add a 3/8″ round over along the top edge.
Once again, despite ipe’s hardness, it actually routs quite easily. |
 |
Step 8
Sand the cutting board. No need to sand any finer than 120 grit.
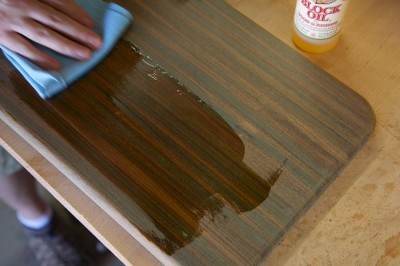
Coat it in a block oil, a simple wipe on and off procedure. |
 |
Other Ideas
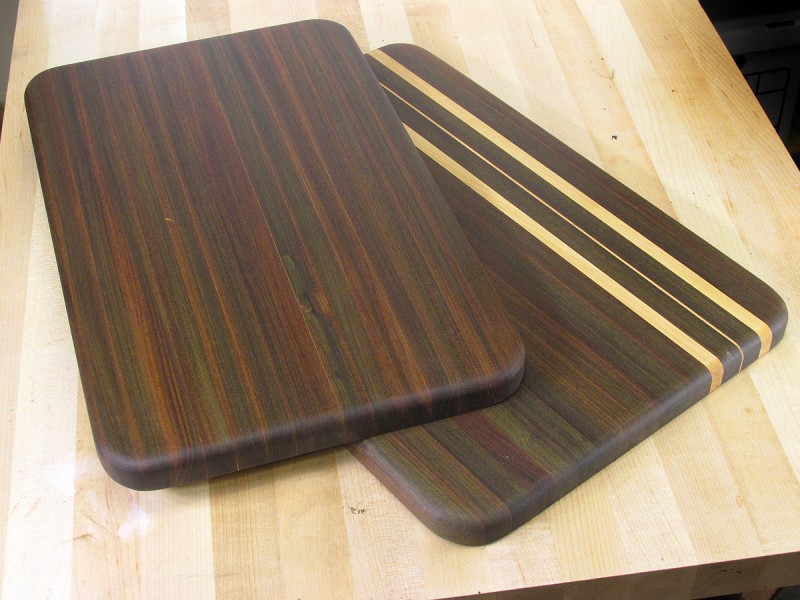
You can also get more creative. As an example, a couple of thin strips of hard white maple added to the ipe makes the cutting board a little wider while giving it a new look.
Vice President of Operations – Woodworkers Source
We’re a family-owned lumber & woodworking supply retailer with 3 delightful stores in Arizona, and 35 friendly employees.
Mark oversees the company and creates tutorials on wood finishing and woodworking tips for hardwood lumber.
Woodworkers Source is a division of MacBeath Hardwood Co.
Discussion, Questions & Answers
